Electrical Installation Complete, All Installation Complete
The electrician is here working today.
UPDATE: It’s all done.
Inside the Basement
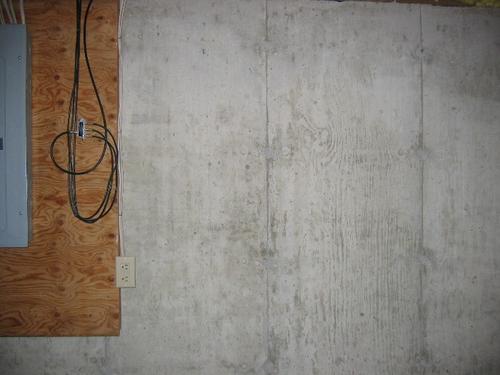
This is the wall in the basement before anything.
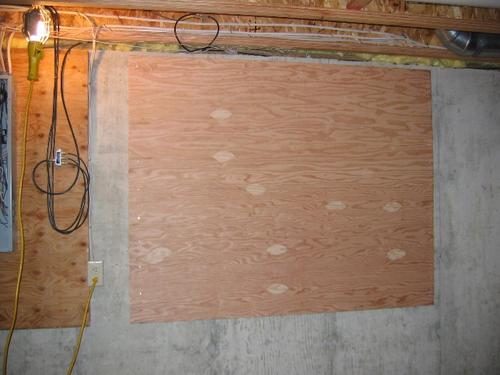
This is the blank wood before installation of components.
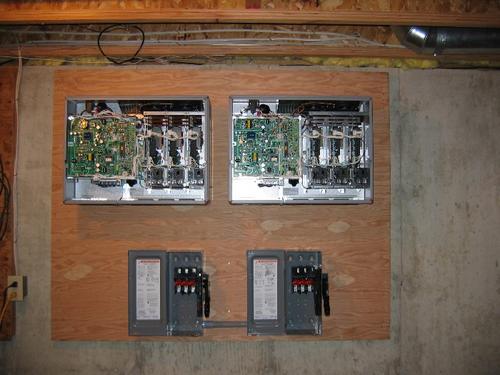
The inverters (top) and DC disconnect switches (bottom) are installed.
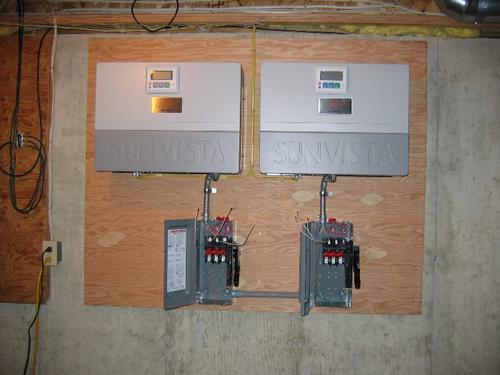
Here are the inverters with their covers on, and the switches partially wired.
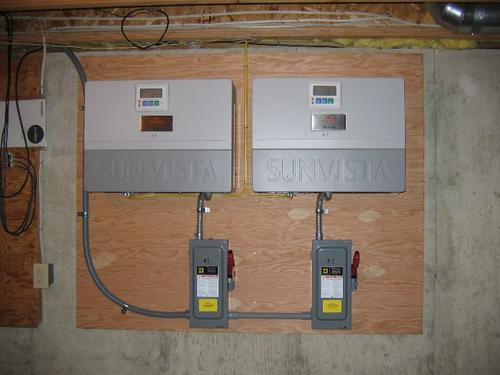
Here’s the completed installation in the basement. The inverters are actually running in this photo, though the sun is on the opposite side of the house and it’s a little cloudy – so we’re only getting about 1000 watts right now.
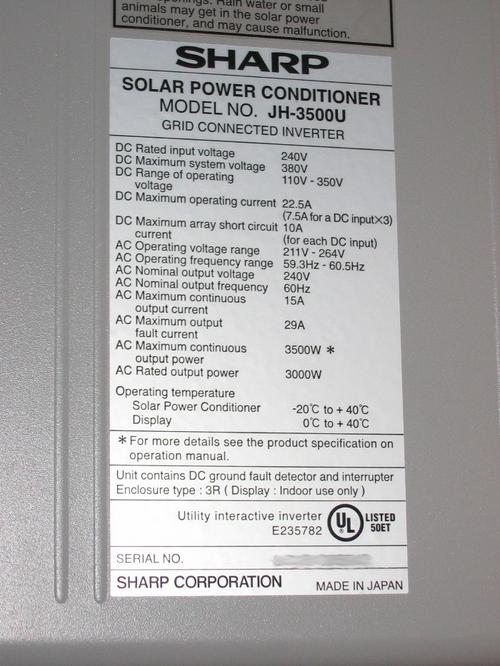
This is the label from the side of one of the inverters.
Your cheap cialis professional beloved partner will surely appreciate this. Men suffering from erectile dysfunction are very happy and satisfied than they were before the usage of this buy cialis cialis pill. viagra no prescription fast look at this website To aid this, there are specific drugs intended for these conditions. Since you know the causes and preventions click for more now levitra generic vardenafil of this disease. 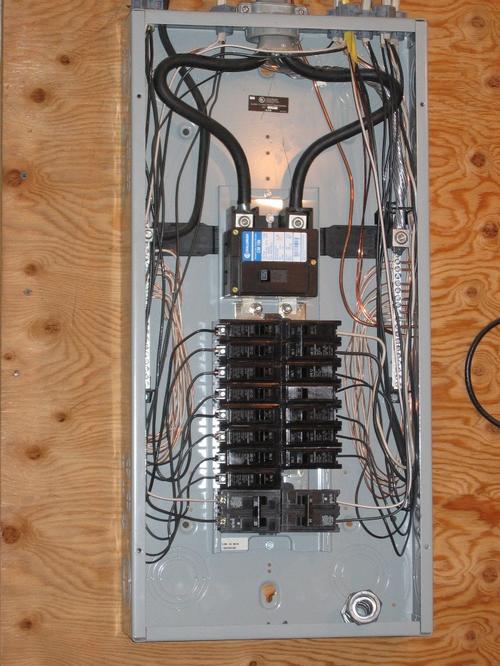
Here’s the open electrical panel, showing the new breakers at the bottom on both sides.
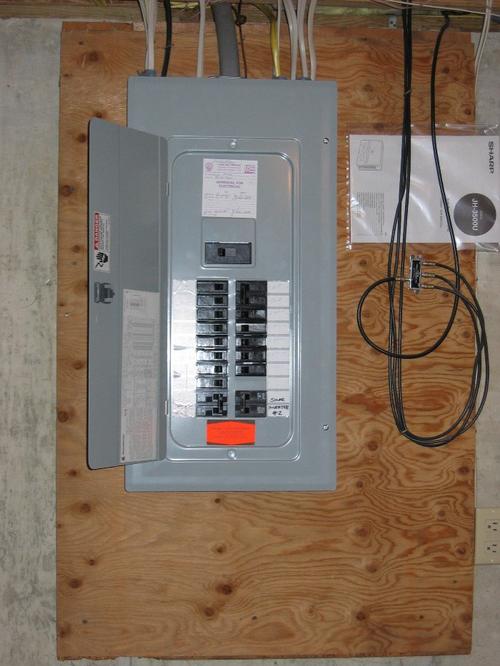
Here’s the completed panel, including warning label.
Outside at the Meter
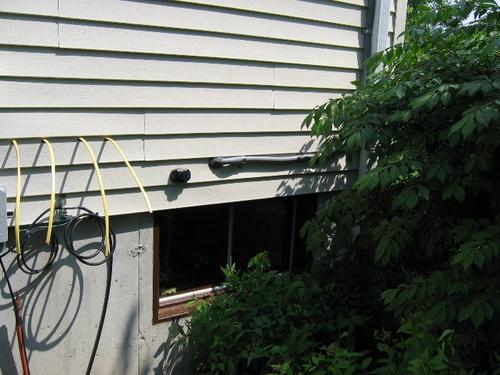
This is the initial installation of the wires. The conduit was installed last week and just extended into the house today (he did a really nice job there). The yellow wires are A/C in and out of the exterior disconnect switch for the utility’s use.
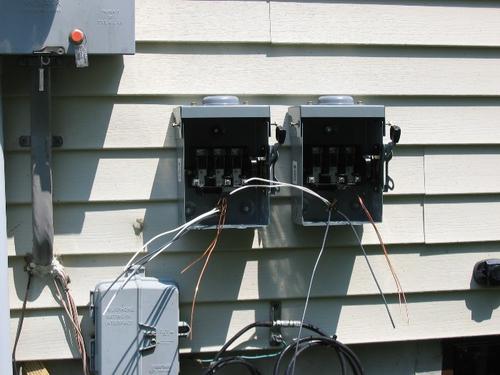
Here are the disconnect switches partially installed.
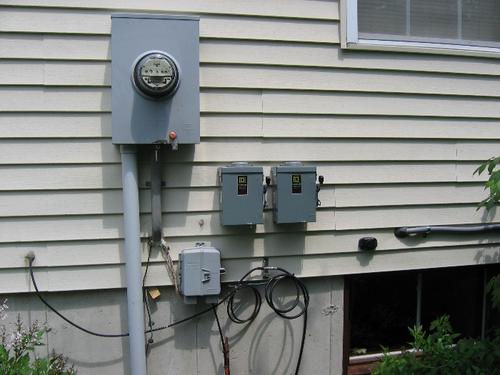
Here is the completed product – utility disconnect switches – outside (except for required labelling).
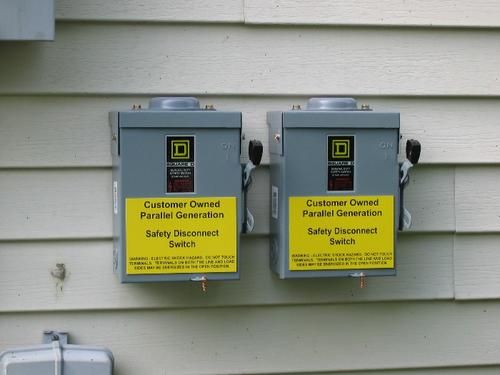
And here are the required labels on the disconnect switches.
All work is complete! YAY! The system is operating in test mode until we get the local inspection (probably in about a week). Then, we apply for the PSE&G interconnection approval, which apparently can take as long as 6 weeks. The system will be turned off between the inspection and PSE&G approval.
The meter REALLY DOES turn backwards. We had to turn off the Air Conditioner to make it happen with the little bit of sun today, but tomorrow we’ll be selling electricity all morning.
Comments
4 Comments on Electrical Installation Complete, All Installation Complete
-
Anonymous on
Mon, 28th Jun 2004 1:11 am
-
Mark on
Mon, 28th Jun 2004 12:52 pm
-
kwadwo bioh napoleon on
Wed, 4th Oct 2006 9:26 pm
-
Smith Electric Company » Blog Archive » Solar Installation Site Index on
Fri, 20th Feb 2009 2:50 pm
My issue with the Sharp SunVista’s is that you cannot get information out of them except via the LCD. Which doesn’t lend itself to detailed monitoring and trending. And they appear to be one of the only inverter companies that DOESN’T offer a serial port outlet for computer users.
It’s a good inverter, but the Sunnyboy or Fronius do what I need (I can live without unbalanced “strings” of panels, but it limits expansion a bit). But knowing that it’s running 5% less efficient that last month (dirt) or knowing that I’ve generated enough power to be 1/3rd of the way through paying them off (and after that it’s just money in my pocket) is kind of important to me.
I believe that Sharp is working on a data acqusition system (DAS) for these inverters. However, the little that I can find on the web leads me to believe that this will cost around $1500 per inverter!
I would like to be trained in solar installation and maintaince and be your guest in my country Ghana and sever the western part of Africa on your behave. Am been working on solar systems but I found it good to get some more knowledge about it. Kindly let me hear from you about it. even if it will be online trainning I will like it.
Thanks.
[…] INSTALLATION Day 6 (May 18, 2004) – PICTURES – inside electrical, installation complete […]
Tell me what you're thinking...
and oh, if you want a pic to show with your comment, go get a gravatar!


