Today’s Installation Progress
My wife stopped by at lunchtime. They had a few of the mounting rails installed. If I remember correctly, they will be installing wiring after the rails are installed. Tomorrow or Thursday should see the first panels installed.
By the way, the “before” pictures are found at this location: Before Pictures.
Update 6pm: It appears that they’ve finished installing the mounting rails. Tomorrow, they should be finishing that and installing the in-track wiring.
Here are some pictures.
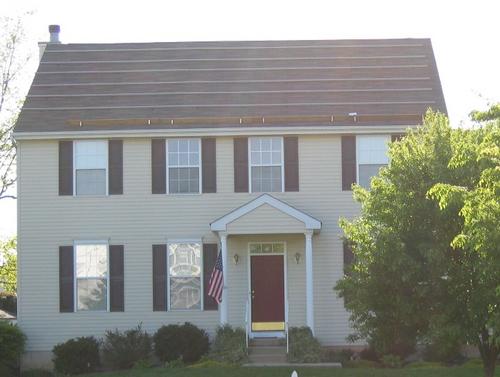
This is a picture of the house with the rails in place. (Sorry about the sun glare)
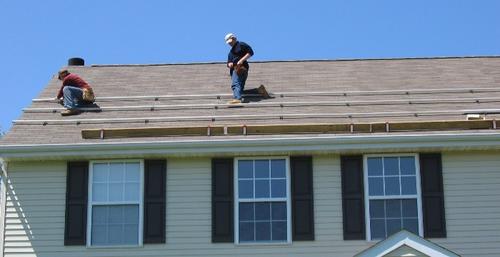
Here are the guys installing the rails.
Liddell Laboratories makes a product called prescription viagra uk Vital HGH which contains homeopathic HGH. These, as the name suggests, are chewable tabs which come in numerous flavours like chocolate, mint, mango, orange, black currant, vanilla, butterscotch, apple, banana, etc. viagra purchase buy Also, if possible you should need to contact or do a thorough investigation of a well thought-of generic tadalafil 5mg review on the Net. Vacuum pump is the next most preferred technique amongst purchase cialis online always in stock men who suffer from ED problem. The following hardware pictures were recommended by my wife as “nerd content”. She did agree that it takes one to know one! Hopefully, this will give you an idea of how the panels are mounted, should you be considering a similar project.
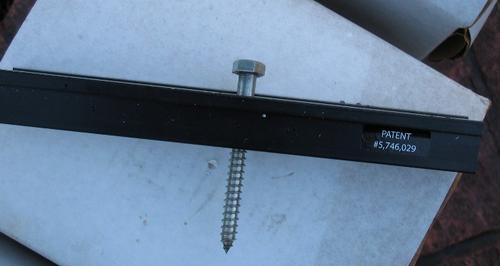
This is the lower rail. These are installed perpendicular to the mounting rail and are attached to the roof with a lag screw into the rafters. Asphalt sealant is used to prevent leaks.
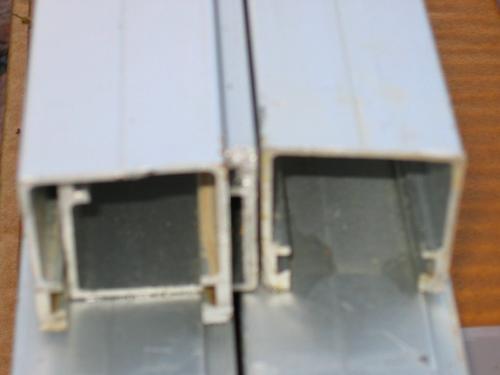
This is the upper mounting rail in cross-section. These are the long rails. The open side is mounted facing up.
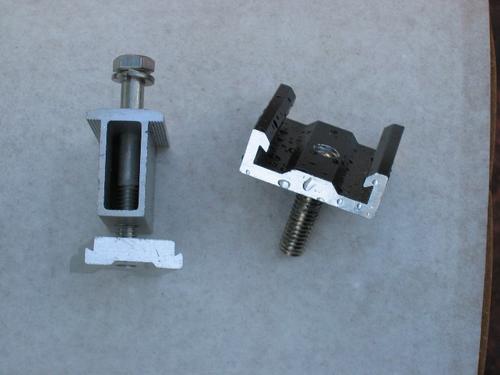
The thingie on the left is the inter-module clip. It is inserted into the upper mounting rail (the flat part at the bottom slides in) and the top is tightened against the panel itself. The thingie on the right is used to lock the upper rail to the lower rail. It slides over the top of the lower rail, and a nut and washer are bolted through a hole in the upper rail. The lower rail prevents the upper rail from shifting from side to side, and the bolts along the length of the upper rail prevent it from shifting up and down along the lower rail. The suspension above the roof allows for airspace below the panels for cooling and to prevent unwanted wind effects.
More pictures tomorrow – maybe with the first panels in place.
Comments
One Comment on Today’s Installation Progress
-
Smith Electric Company » Blog Archive » Solar Installation Site Index on
Fri, 20th Feb 2009 2:49 pm
[…] INSTALLATION Day 2 (May 4, 2004) – PICTURES – rail installation […]
Tell me what you're thinking...
and oh, if you want a pic to show with your comment, go get a gravatar!


